


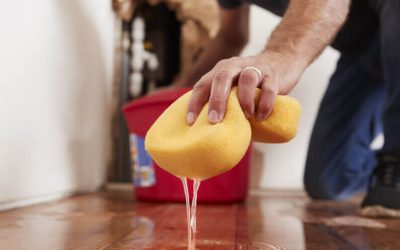
When you begin to notice water around the base of your toilet, do not panic. Your bathroom isn’t falling apart. Instead, your toilet is leaking.
If you own your own home for any length of time, you will have to repair a leaky toilet.
Thankfully, the process of replacing a wax seal and repairing a leaky toilet base isn’t that complicated.
Keep reading to learn how to fix a leaking toilet base.
How to Fix a Leaking Toilet Base
If you see water on the floor around the base of your toilet or if you have noticed water stains on the ceiling of the room directly below your bathroom, you most likely have a leaky toilet. The wax seal that seals a toilet to the drain will wear out over time.
Before panicking yourself into a toilet replacement, this can be fixed. You can fix a leak under the toilet by following these basic steps.
1. Stop Using the Toilet
Unless you want to have an entire bathroom remodel because of a rotten floor, stop using your leaky toilet. The day you notice the leak, take action.
2. Determine Why the Toilet is Leaking
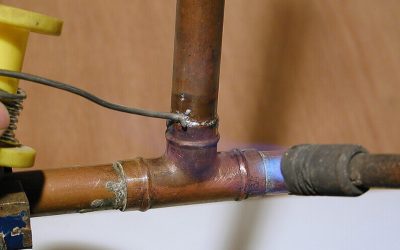
There’s a real chance your toilet is leaking because of a faulty wax seal. The toilet is bolted to a cast iron or PVC floor flange. The floor flange goes into the drain-waster-vent system of your home. Your toilet will seal to the floor flange with a wax seal typically made of beeswax.
Your leaky toilet could stem from a faulty wax seal. It does get old over time. The toilet could also leak because the toilet’s base has loose bolts.
So before you start taking your toilet apart, make sure the bolts are tightened. Then flush the toilet. If it still leaks, you need to replace the wax seal.
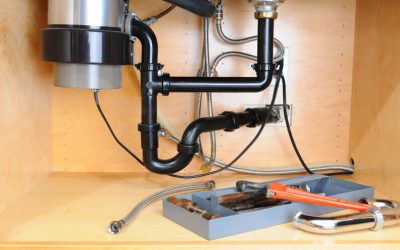
3. Gather the Tools
You will need more than pliers and a wrench to replace your wax seal. Gather the following tools for this job:
- Channel-lock pliers
- Cresent wrench, 6” or smaller
- Utility knife
- Paint scraper
- Hacksaw
- Large sheet of cardboard
- New wax seal
- Latex or other waterproof gloves
- ¼” or 5/16” toilet bolts
- Rubber shims
- A suction tool like a turkey baster or a shop vac
- Plastic tub to catch drips
- Bath caulk
If you want to replace the seal efficiently, then have these tools on hand.
4. Shut Off the Water
Locate the shut-off valve behind the toilet and shut it off before you begin working on the toilet. Often the valve is right behind the toilet and requires just a quick turn.
5. Empty the Tank
Take the lid off the toilet tank. Flush the toilet and hold down the level until as much water as possible has flowed out of the tank.
If water enters the tank through the fill valve, find your main water meter and turn off the house water. Then disconnect the line that supplies the tank with water using a channel lock pliers or a pair of slip-joint pliers.
Completely disconnect the supply line from the tank by twisting the nut counterclockwise.
Clean up residual water with a suction tool, sponge, or shop vac.
6. Loosen the T-Bolts
Take the plastic caps off the flange bolts. Use a six-inch crescent wrench to take the nuts off the bolts at the base of the toilet.
7. Move the Toilet
Put your cardboard beside the toilet. Lift the toilet straight up off the bolts. Put the toilet on its side or back on the cardboard.
8. Scrape Off the Old Wax Ring
Scrape the old wax from the flange as well as any wax on the toilet base. Wipe the underside of the toilet and the floor flange with a rag as well.
9. Replace the Bolts
Replace your toilet bolts with either a 1/4″ or 5/16″ bolt. Clean out the slots for the tee bolts, and then slide the bolt into the slow on the floor flange. slip your plastic washers over the bolts.
10. Set the New Wax Ring
Remove the wax paper from the wax surface on your new seal. Set the seal over two bolts. Press on the seal gently to seal the wax to the flange.
Lift the toilet above the flange and slowly set it down. Make sure you slide the two bolts up through the two slots on the ceramic base.
Slide a metal washer on each bolt followed by the plastic washer. Screw the bolt nut over the bolt and hand tighten the nut.
11. Put the Toilet Back
Put pressure on the toilet bowl rim or seat lit by sitting or kneeling on it. Use your body weight to compress the new seal. Apply straight downward pressure without wiggling or rotating the base.
12. Tighten the Bolts
Tighten your flange bolts with a crescent wrench no bigger than six inches. If you tighten your nut too much, you can crack your toilet, so do not over tighten the nut.
Use the hacksaw to trim the new flange bolts. Then cover the end of the bolt with a decorative plastic seal.
If the toilet wobbles, use rubber shims to eliminate the wiggle. Use a razor blade or utility knife to trim the shims.
13. Reconnect the Water
Reconnect your supply line to your toilet tank. You can often adjust this connection by hand. If you must use pliers, tighten it carefully.
Allow the tank to fill until your tank fill valve shuts off. Flush the toilet four or five times to make sure you have a watertight flange seal. Once you know you’ve sealed the toilet with your new wax seal, caulk the bottom of the toilet base to the floor.
A Perfect Seal
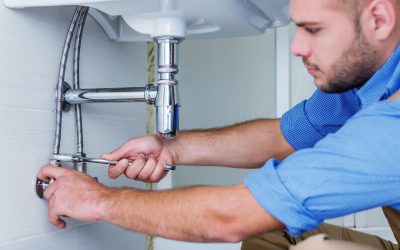
Now that you know how to fix a leaking toilet base, you can appreciate the work of a plumber.
For all of your plumbing needs, contact us. We keep the water where it belongs.


What if it’s just the fill valve stem bolt?